Meal Planning Board Tutorial

Last month I guest-posted my Meal Planning Board tutorial over at Serenity Now! If you missed it, I've re-posted for you to enjoy!

Here we go ...

This Meal Planning Board (originally inspired by Charity over at All Things Beautiful) is part of my Kitchen Command Center and is probably one of my favorite projects so far! It actually inspires me to cook and get a little more adventurous with our meals ... plus, it lets my husband get in on the action and clip-up a few meals that he'd like during the week. Now don't be intimidated by all of the parts and pieces to this Meal Planning Board ... it's REALLY easy, I promise! I whipped this baby up in a little over an hour ... even with the "help" of a set of 3-year old toddler hands ... that includes making the the decorative clothespins and push-pins too!

Meal Planning Board ~ Tutorial


Let's get started ...


Supplies

Large Picture Frame
Cork Squares
Cute Fabric
Felt
Felt Scraps
Decorative Clothespins (tutorial here)
Decorative Push Pins (tutorial here)
Lettering
Scissors/Rotary Cutter/Glue


Grab your frame and toss the glass (or save it for another project).
You'll just be using the frame and the frame backing.

Cut your cork to the size of the backing.
I used two pieces of 12x12 squares and cut them to size.

Glue your cork to the frame backing.

Cut your fabric and felt slightly larger than the frame backing. Lay your fabric face down, then your felt, then your corked backing.

Wrap the fabric/felt layers around the board and glue to secure.

Place in your frame.

Flip it over and you have a cute and slightly cushioned fabric board! The felt helps make the board a little "cushy" (is that a word?) and gives it a more finished look.

Ok, get those the Decorative Clothespins ready! You can check-out my tutorial here. I used my Sizzix machine to cut the felt circles and the letters. You can absolutely use stickers or other pre-made embellishments for this too!

Space out your clothespins and simply push them into place! I started with Wednesday's clothespin in the center, then Sun on one edge and Sat on the far edge ... then it was simply dividing the remaining space.

Ooh .. they look like little clothespins soldiers all lined up in a row! This makes me smile.

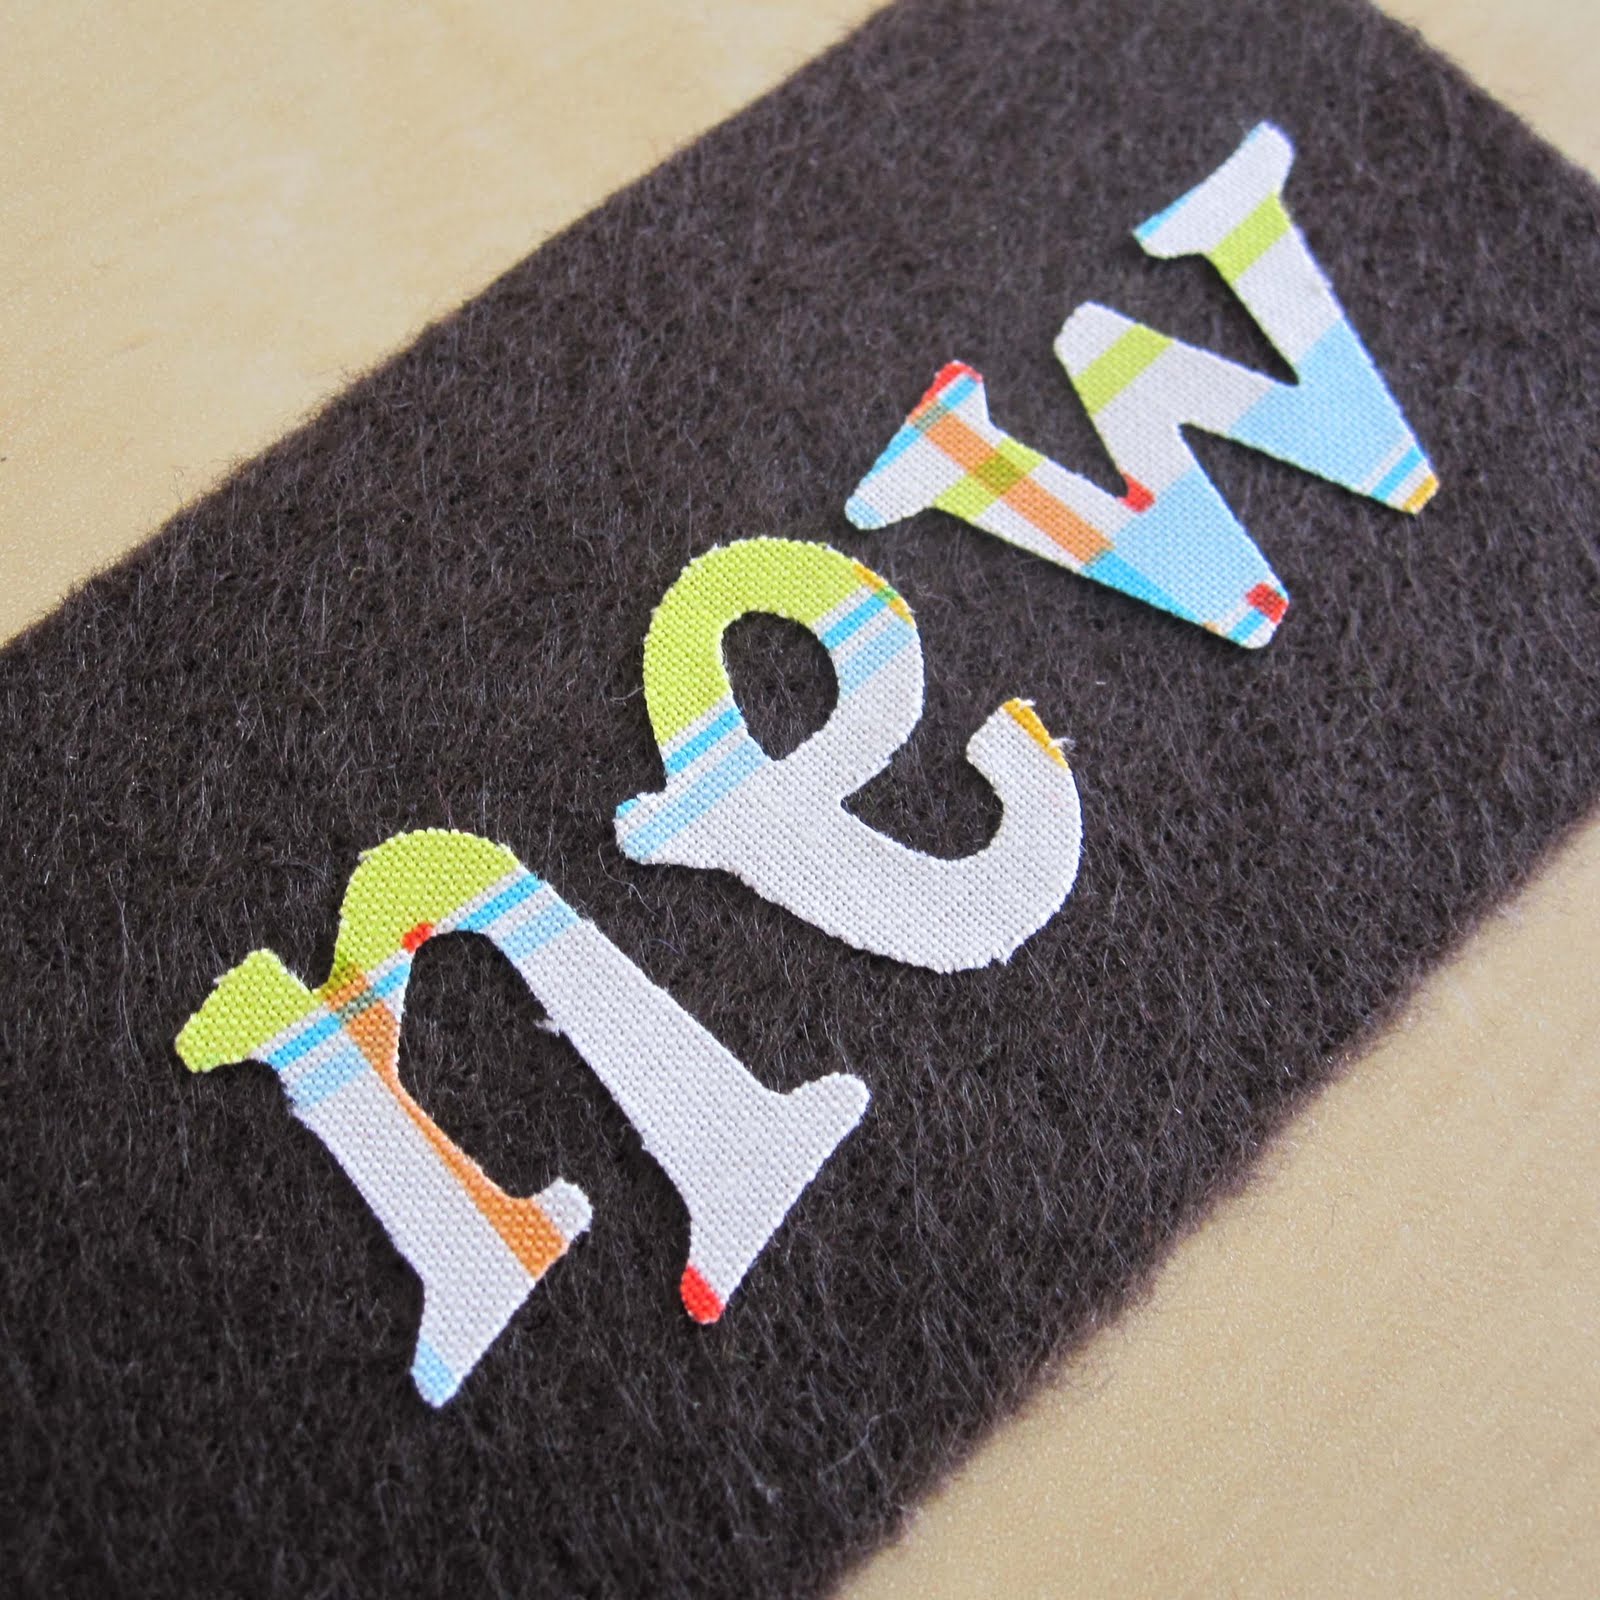
Now cut those felt scraps into rectangles so you can create storage pockets for all of your meal choices. I chose to make 3 categories of meals and therefore needed 3 pockets. Again, I used my Sizzix to make iron-on fabric letters, but you can use stickers too!

Grab your decorative push-pins. You can find my tutorial here. You'll need 4 push-pins for each pocket. Pin your bottom corners. Before pinning the tops, make sure you leave a little extra room so there is space to slide your meal notes.

Simply push-in the pins!

Ooh! A cute little row of menu pockets! I made pockets for our "favorite", "fast", and "new" meals and so far it's been a good fit for the way our meals work here.

You can add a little row of glue along the bottom of the pocket to prevent the meal cards from slipping out the bottom.

Now you're ready to start planning your meals! I simply cut strips of regular printer paper and wrote out our meals by hand.

The finished product!

The Meal Planning Board hanging proudly at the top of our Kitchen Command Center!

I'm Guest Posting @ Serenity Now Today!

Today you can find me guest posting my Meal Planning Board Tutorial over at Serenity Now ... one of my favorite blogs! If you don't already visit Amanda @ Serenity Now, head on over! She has a fun blog jammed packed with great ideas.

Hop on over and you may find a little surprise waiting for you!

Photobucket

Plant Your Gadget Charging Station

So really, who DOESN'T have a pile of charging cords crammed into their junk drawer? Anyone? I was seriously, seriously overwhelmed by the amount of cords we had crammed into our drawers ... and the ridiculous amount of hand-held electronics ... 2 cell phones, 4 iPods, 1 iPod touch ... not to mention the random power cords! I mean really, enough was enough.

In no more than 15 minutes I had put together a centralized charging station and in the spirit of Spring I labeled it "Plant Your Gadget". It's functional, it's cute and decorative. Whoop!

Plant Your Gadget

Supplies

Basket, Decorative Grass, Power Strip, Embellishments

"Plant Your Gadget" Decorative Charging Station

Gather up your electronics and all of those lovely charging cords

I hung our power strip on the wall behind our table and neatly zip-tied the cords up the wall to the basket.

Use a loosely woven basket and simply thread the head of the charging cord through the gaps in the basket.

Pile decorative grass over the cords then thread the top few inches of the cords through the grass.

Now plant your gadget in the basket, plug it in and charge!

You're done! It's decorative, functional ... and you won't forget where you're charging your gadget!

My First Video Tutorial!

I posted my first ChichiKids video tutorial! I'm sure my family will get a kick out of it ... as they had to witness my "toothpaste commercials" since I was a kid (and I may have been known to jump in front of the camera to do a few "weather reports" ... even as an adult).

Enjoy ... and if you comment ... be nice. :o)

ChichiKids Fabric Appliques ~ Basic Iron-On Tutorial


All of my ChichiKids video tutorials will be linked on my sidebar under ChichiKids Tutorials.

The awesome little apron that I wear in my videos and EVERY day when I work on applique orders and DIY projects was handmade by The Apron Addict on Etsy!

Love for the Mini-MOO!

My Mini-MOO business cards arrived!

MOO.com is simply amazing and it's effortless to create your own cards using your OWN photos! It's like a modern day "mullet" ... except it's a party on the front and business on the back. *smile*

If you haven't stumbled across it, I have an Etsy shop called ChichiKids! My shop focus is custom, iron-on fabric applique letters and designs for your clothing or home DIY projects. If I meet someone and the conversation turns to "So, what do you DO?". I have a hard time explaining my shop focus and appliques. It usually results in an "Oh. So, anyway ....".

I had a friend ask me, "Why don't you just say you sell "crafts". Well ... outside this AWESOME blog community, "crafts" seems to be a "dated" term ...people tend to think Popsicle Stick Bird Houses and Paper Bag Puppets. *giggle*

With my Mini-Moo's and my applique projects proudly featured on the front of each business card ... they have a visual reference and perhaps the conversation will be more of ... "Oh, COOL! So anyway ...".

... and THIS is why I'm so excited!

LOOK! My Mini-Moo's!

Aww ... cute little box! These shipped to my overseas address in a matter of days!

Ooh! A little peek into the box!

Appliques in action! With your MOO cards ... you can use as many photos as you like! Each card can have a different design. SWEET!


I love the little Peek-a-Boo Turkey ... and seeing my niece and son on my
business card simply makes me smile.

I'm excited to show-off on my card that appliques are not just for clothing! Did you notice that the M,T,W,T,F,S embellished clips on my Meal Planning Board were actually Doodle Dot Letter appliques? Oh Yes!

Thinking about ordering from MOO.com? Here is a coupon code for 15% off your FIRST order! Have fun!

2RB2CK

Interchangeable Camo Daisy Pin

I've spent enough time in camo over the last 13 years that I don't usually add it to my civilian wardrobe ... but every once in a while I get the urge to show a little support outside of uniform. Using some scrap fabric and random military-support pins ... I whipped up this little Interchangeable Camo Daisy Pin in less than 5 minutes.

Interchangeable Camo Daisy Pin

Adding a little feminine touch to the standard Yellow Ribbon Pin ...

Supporting our troops ...

Supporting a spouse ...

Attempting to model the pin (this is NOT my comfort zone)


Seriously, I just couldn't do it ... so I laughed instead ...

Ok, grab your scraps of material. I don't expect everybody to have uniform scraps in their house but you can use a military bandana or other camo inspired fabric ... or check out a nearby Military Surplus Store!

Cut your scraps into various size flowers ... I used my Sizzix but you can find a flower graphic on-line, print, cut and trace ... or free-hand it!

Layer them ...

Add a quick little stitch in the middle to hold it together ...

Grab a military pin, poke it through the flower and you're done! Super easy to switch-out to any military inspired pin of your choice!

Kitchen Command Center ~ Finally!

I started drafting up plans for my little Kitchen Command Center a few month ago ... and FINALLY ... I've finished! As I've said before, the hardest part about living in Europe and having a DIY addiction is actually finding the materials. This is one of those projects where I spent weeks trying to find the right materials and waiting for them to arrive. When all of my supplies came in ... I swear, the skies parted and a little beam of light glistened through my kitchen window ... I may have heard angels singing (or it could have been my iPod).

So here it is ...

Kitchen Command Center

Do you see the little ray of light shining into my kitchen? Yes, this was a happy day!

Our Kitchen Command Center features a Meal Planning Board, Dry Erase Note Board, Magnet Boards and Chore Charts ... it has everything we need to plan out our week.

The Meal Planning Board was originally inspired by Charity over at All Things Beautiful. I'll be sharing a tutorial for my Meal Planning Board later this week, so please stop back.

I divided our meals into 3 categories; "favorites", "fast", and "new"

I embellished good 'ole clothespins to display our meals for the week (Sun - Sat). I've shared a tutorial on how to make your own "Not Your Average Clothespins" here.

The fabric makes me smile ... and crave sweets.

A simple-to-make DIY Dry Erase Note Board for important reminders, "to-do" lists, and loving notes to the hubby and kiddo! The tutorial for this is also coming later this week but you can get a pretty good idea from one of my previous projects here.

My personal favorite ... the Magnet Boards and Chore Charts! I purchased these beauties on Etsy from a wonderful shop, Abbie's House. Now I know every DIY'er has that urge to make everything themselves, but I believe in supporting others in their artistry too. I {heart} handmade! When I saw these Chore Charts at Abbie's House, there was no hesitation ... they were clean, simple, and beautifully made. She was also so kind as to create two, custom "blank" Magnet Boards to coordinate with the Chore Charts I ordered. She's great ... go check her out!

I love them so much that ... you see the top Chore Chart titled "Jaime & Al" ... that's my Chore Chart (ok, so I share with the hubby ... but we know the truth)! So much cuter than scribbling out my chores on a piece of paper ... you're NEVER too old for a Chore Chart! :o)

Abbie's House has a cute selection of "chore magnet" bundles. This Magnet Board keeps all of our "extra" chores that don't have a home under the "to do" or "done" list for the day.

The 2nd Magnet Board is for general use. I clip up mail that needs to be taken to the post, permission slips, etc. I made large, 1 1/8" cover-button magnets in coordinating fabrics to match the Meal Planning Board and Dry Erase Board. You can find my Cover Button Tutorial here.

... and one last look at the Kitchen Command Center. It makes me smile every day!

Find out how I hung everything, here.