
Here we go ...
This Meal Planning Board (originally inspired by Charity over at All Things Beautiful) is part of my Kitchen Command Center and is probably one of my favorite projects so far! It actually inspires me to cook and get a little more adventurous with our meals ... plus, it lets my husband get in on the action and clip-up a few meals that he'd like during the week. Now don't be intimidated by all of the parts and pieces to this Meal Planning Board ... it's REALLY easy, I promise! I whipped this baby up in a little over an hour ... even with the "help" of a set of 3-year old toddler hands ... that includes making the the decorative clothespins and push-pins too!
Meal Planning Board ~ Tutorial

Let's get started ...

Supplies
Large Picture Frame
Cork Squares
Cute Fabric
Felt
Felt Scraps
Decorative Clothespins (tutorial here)
Decorative Push Pins (tutorial here)
Lettering
Scissors/Rotary Cutter/Glue
 Grab your frame and toss the glass (or save it for another project).
You'll just be using the frame and the frame backing.
 Cut your cork to the size of the backing.
I used two pieces of 12x12 squares and cut them to size.
 Glue your cork to the frame backing.
 Cut your fabric and felt slightly larger than the frame backing. Lay your fabric face down, then your felt, then your corked backing.
 Wrap the fabric/felt layers around the board and glue to secure.
 Place in your frame.
 Flip it over and you have a cute and slightly cushioned fabric board! The felt helps make the board a little "cushy" (is that a word?) and gives it a more finished look.
 Ok, get those the Decorative Clothespins ready! You can check-out my tutorial here. I used my Sizzix machine to cut the felt circles and the letters. You can absolutely use stickers or other pre-made embellishments for this too!
 Space out your clothespins and simply push them into place! I started with Wednesday's clothespin in the center, then Sun on one edge and Sat on the far edge ... then it was simply dividing the remaining space.
 Ooh .. they look like little clothespins soldiers all lined up in a row! This makes me smile.
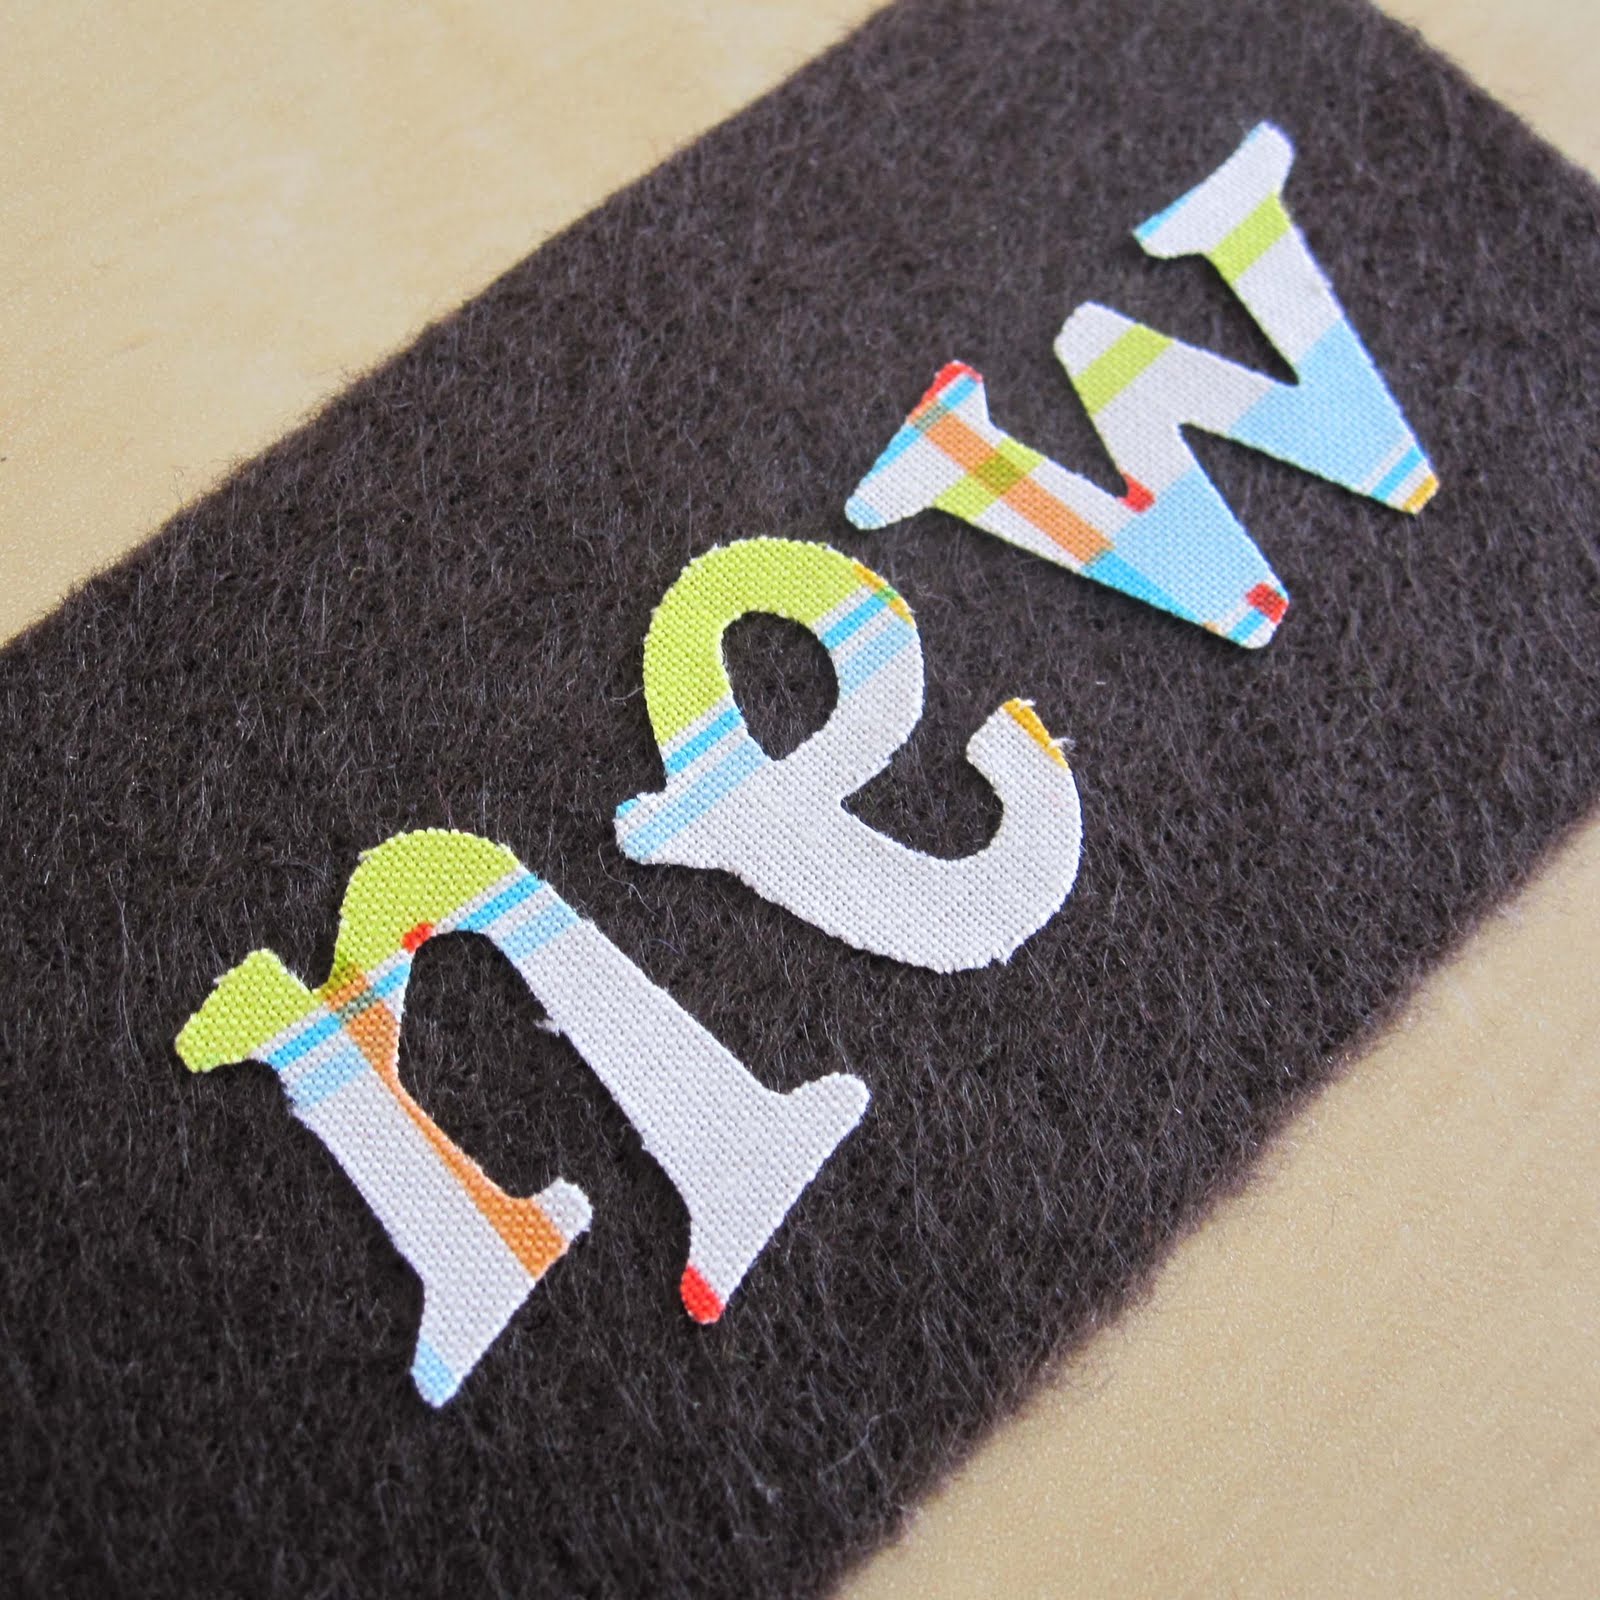 Now cut those felt scraps into rectangles so you can create storage pockets for all of your meal choices. I chose to make 3 categories of meals and therefore needed 3 pockets. Again, I used my Sizzix to make iron-on fabric letters, but you can use stickers too!
 Grab your decorative push-pins. You can find my tutorial here. You'll need 4 push-pins for each pocket. Pin your bottom corners. Before pinning the tops, make sure you leave a little extra room so there is space to slide your meal notes.
 Simply push-in the pins!
 Ooh! A cute little row of menu pockets! I made pockets for our "favorite", "fast", and "new" meals and so far it's been a good fit for the way our meals work here.
 You can add a little row of glue along the bottom of the pocket to prevent the meal cards from slipping out the bottom.
 Now you're ready to start planning your meals! I simply cut strips of regular printer paper and wrote out our meals by hand.
 The finished product!
 The Meal Planning Board hanging proudly at the top of our Kitchen Command Center!
So cute!
ReplyDeleteOkay, that's such a good idea - and so beautifully executed!
ReplyDeleteGorgeous board. Can't wait to have a bit more space in our kitchen so I can crack on with this!
ReplyDeleteLOVE love the looks and idea of this (came here from Serenity Now, btw) but have a question. Do you put ALL the possible meals you ever have in those bottom pockets and hubby/family gets to choose from all of them for the week? Or the other option is to decide what meals you are making for the week and put only those in the bottom for that period and the family chooses what meal goes what night?
ReplyDeleteI guess what I'm wondering about is shopping. Maybe you fill in the meals like over the weekend with the help of family, and then shop for the week on Sunday or Monday morning? I generally plan for two weeks so maybe I could modify this somehow, because I surely LOVE the idea of it - I definitely try to keep my shopping to one time a week or less, though, so I need a little notice... Thanks for sharing this whole Command Center idea, I'm drooling here! :)
Hi Stacy! Thanks so much! Yes, I put almost all our meals in the bottom pockets and the hubby and I go through and pick out our meals for the week. I buy as much as I can in the beginning of the week ... unless I know there is produce that may go bad before it's used.
DeleteLOVE!!
ReplyDeleteHi, I stumbled across your blog earlier today and think it's great! This tutorial is very cool. I would love to be a meal planner one day, and I think this is how I would go about doing it! I just have to talk myself into believing I can do it first. ;) Thanks for the awesome post! I mentioned it on my latest blog entry with a link back to you. Looking forward to seeing more!
ReplyDeleteThanks so much!
DeleteI'm working on making my own menu board and I LOVE the fabric you used. Where'd you get it? I can't seem to find any like it at JoAnn's, but I'm possibly not using the right search criteria.
ReplyDeleteThanks!
Hi Jessica! So happy to hear you're working on your very own menu board! The fabrics I used for mine were from the Kiss The Cook Fabric Collection by David Textiles ... I purchased mine from JoAnn's a little over a year ago. I found an Etsy seller who has it! :) http://www.etsy.com/shop/LittleShopOStitches
DeleteI love that it has fabric instead of just paper. That makes it one notch up on the cuteness ladder. :)
ReplyDeleteLooks Oh So Great! I can't wait to make one for us, and overcome the weekly/nightly battle of what do I cook! Thank you so much for such a detailed plan!
ReplyDeleteDo you mind if I link back to you when I finish mine? ^_^
Thanks for this nice post
ReplyDeleteMeal Planner
This comment has been removed by the author.
ReplyDeleteYou've inspired me to finally make a Meal Planning board! Thank you so much for sharing. I've seen so many versions and this beats them in my book by far. May I ask you where you got the wonderful fabric?
ReplyDelete